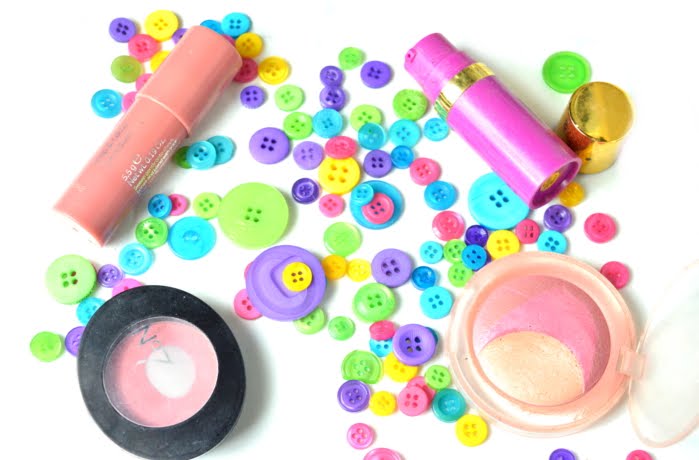
Welcome back to my 7th installment of this little series - i'm not sure how we have managed seven of these already but we have. This time around I want to delve into the world of blushers and highlighters. To some these steps aren't even necessary but it's always good to know how to use it just in case you ever take the notion.
1. What Is Blusher?
Well in a nutshell blush is a product that is used to add a little colour to the face. Instead of adding the sun kissed look that bronzer would it adds the natural rosy glow that your cheeks would get if you were 'blushing' - hence the name! Blushers come in so many varying colours that it can be quite a scary product but don't worry it's not to be feared.
2. Is It Just A Powder?
Unfortunately not. Long gone are the days when any product comes in just one formulation, blusher is no different. These days you can find blusher in various forms such as:
- Powder - this is the easiest form to use
- Cream
- Gel
- Stick
- Tint
The general rule of thumb is that they can be split between heavy and light coveage:
- Heavy
- Powder
- Liquids
- Creams
- Light/Sheer
- Gel
- Stick
- Tint
3. Which Should I Use?
Your skin type always depends on what products you use. I really cannot stress enough how important it is to get to know your skin. You will only find products that work for you if you know which to apply in the first place. That being said, although certain products work better with certain skin types anybody can wear anything if they prepare the skin thoroughly.
- Oily Skin
- Gels or liquids are better as they are longer lasting
- Dry Skin
- Cream blush works best as it adds moisture to the skin
- Normal/Combination
- Pretty much any blush type will work
4. What Colour Should I Use?
There are two approaches which you can take to picking blush colour. The first is basic trial and error. Pick a colour you like and give it a go on the face. This can be pretty expensive if you end up not liking most of the colours you buy but it might suit a spontaneous nature.
The other option is sticking to some basic guidelines:
- Light Skin Tones
- Light Pinks
- Peach
- Corals
- Medium/Olive Skin Tones
- Bright Pinks
- Bronzy Pinks
- Dark Peaches
- Dark Skin Tones
- Magenta
- Orange
- Purple
If you can it's always good to test the shades out on your skin tone before making a purchase.
5. What Finish Do You Want?
As with colour it's also important to decide what finish you want your blusher to have.
- Shimmer - can make oily skin look more oily
- Glitter - can make oily skin look more oily
- Matte - can emphasis dry patches
You can wear whatever blusher you want but it's good to have a balance.
6. How To Apply Blusher
The last thing any of us want is to end up looking like a clown and trust me this is something that can be easily done if you don't apply the product in the right place. Back in the day we were all being told to smile and apply the blush to the apples of our cheeks but this doesn't work. When we stop smiling the blush ends up too low and all out of place.
My best advice is to lightly apply the blush on the diagonal of your cheekbone towards your ears. This accentuates the cheeks more than having them stand out as two giant circles on your face. For me I think it's all about the subtlety.
7. Things To Remember
These are the things I think you should remember when it comes to blush:
- Don't be too heavy handed - less is always more
- If you put too much on you can blend it out with a clean brush, tissue or your foundation applicator
- Blusher can be worn with or without foundation
- Only add blusher if you feel comfortable - it's not required!
There we have it. My breakdown of blushers for beginners.
What blushers do you like to use?
Have you any tips?


No comments:
Post a Comment